
Carpet Installing on your flooring is not an easy task and not for the faint of heart. To get the ideal carpeted flooring you need to have a good grip on the techniques and sound knowledge about the installation process and the type of tools required to make the job easier for you.
In this article, I will let you know the tools required for removing the carpet and installing a carpet, use, and some basic information about them, down below.
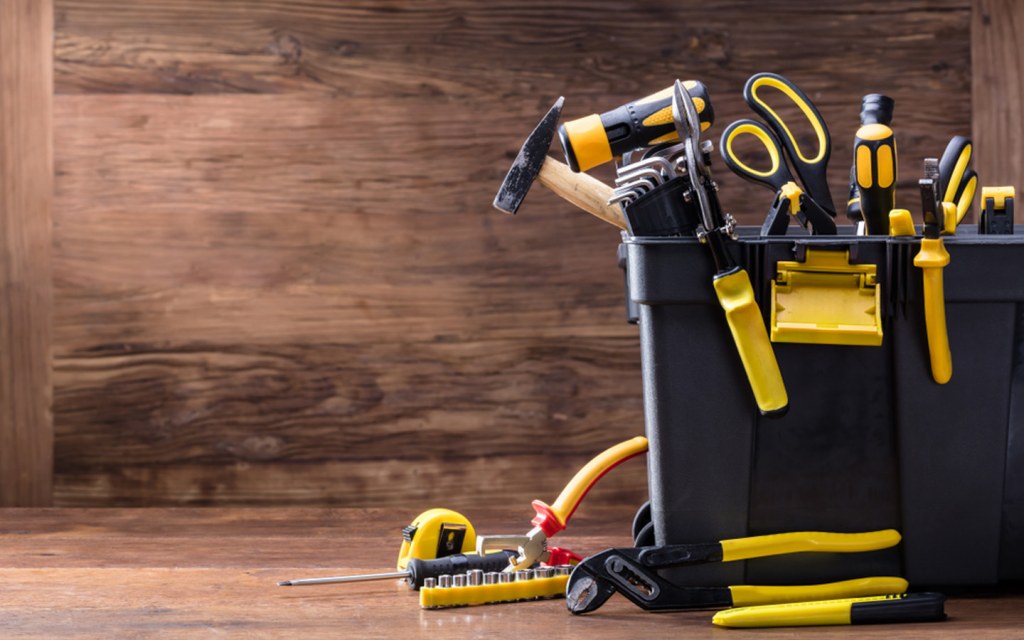
TOOLS TO REMOVE CARPET
- Utility knife: with a comfortable grip and is efficient for cutting carpeting.
- Flat pry bar: The pry bar with a long handle for leverage and grip to remove the baseboards and tack strips.
- Nail pullers: product with a flat claw for easy wedging to not damage wood panels underneath.
- Dust mask: to protect your nose and mouth from the debris of the carpet.
- Safety glasses: to guard your eyes against dust and debris from the carpeting as you remove it.
- Contractor garbage bags: fill a contractor garbage bag with the rolls to prevent stray pieces of carpet around your house.
- Adhesive remover: to remove the adhesive from beneath the carpet padding.
- Scraper: to remove the baseboards, nails, and carpet padding.
- Hammer: A claw hammer to insert new nails and remove old ones.
- Knee pads: to protect your knees from the staples on the floor.
- Locking pliers: to pull it up from the floor.
- Gloves: heavy-duty work gloves to remove the carpet and to protect your hands against nails and staples.
- Duct tape: to wrap the carpeting after removing the panels from the floor.
- Spiral nails: to make the wood floor paneling sturdier because of their superior gripping power.
TOOLS TO INSTALL CARPET
- Hold onto the tools for removing the carpet, since you’ll need some of them for this step along with the following equipment:
- Tape measure: to figure out the length of each wall in the room.
- Straight edge: make sure your seams and edges are straight for the carpeting.
- Knee kicker: to stretch carpet from one wall to the other.
- Carpet stretcher: this tool stretches a large area of the carpet across the room.
- Carpet tucker: press the edges of the carpet snugly into the gap between the floor and the wall.
- A chalk line will be used to designate where the carpet will be cut. To view the line against the rear of the carpeting, draw it with blue chalk.
- Staples: Purchase a box of staples in sufficient quantity to cover the length of your carpet job.
- Hammer tacker: to apply the staples.
- Masking tape: Use the adhesive side up to secure two panels of carpeting together.
- Seaming iron: to melt the adhesive of the tape to attach the seams.
- Tack strips.
- Carpet pad.
- Shoe covers: Wear footwear to keep your feet safe during the installation procedure. Shoe coverings protect the carpets from dirt tracked in on your shoes.
- Notched trowel: If you’re using spray adhesive to secure your carpet or padding to the floor, use a notched trowel, especially in high-traffic areas like steps and stairwells.